A swamp cooler, also known as an evaporative cooler, offers a cost-effective and environmentally friendly alternative to traditional air conditioning systems. By utilizing the simple process of evaporation, these coolers not only reduce the temperature in your home but also add moisture to the air, making them ideal for dry climates. Building your swamp cooler saves you money and allows you to engage in a rewarding DIY project. This post will guide you through each step of the process, from gathering the necessary materials to the final assembly. With the right tools and some basic knowledge, you’ll be able to create an efficient cooling system tailored to your needs.
Contents
The Science Behind Swamp Coolers
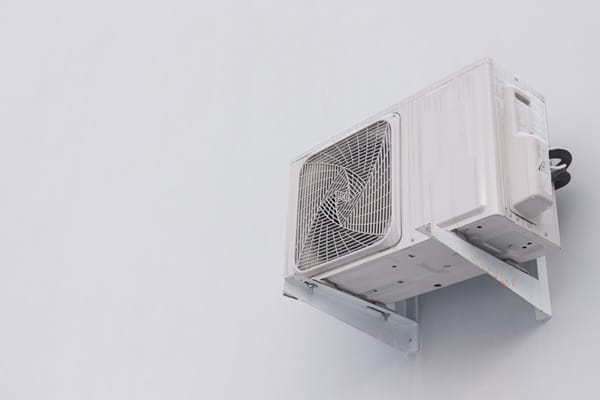
Swamp coolers operate on the principle of evaporative cooling, which is the process of water evaporating into the air, thereby lowering the temperature. This cooling method is particularly effective in areas with low humidity, as drier air allows for more rapid evaporation, leading to cooler temperatures. The core components of a swamp cooler include a fan, a water pump, a cooling pad, and a vent, which work together to circulate the cooled air throughout a room or building. Unlike traditional air conditioners that use refrigerants to cool the air, swamp coolers provide a natural and energy-efficient alternative by leveraging the physical properties of water.
The efficiency of a swamp cooler significantly depends on the surrounding climate. They are most effective in regions where the air is dry, and humidity levels are low, as these conditions maximize the cooler’s ability to evaporate water and reduce air temperature. In areas with high humidity, the air is already saturated with moisture, limiting the amount of water that can evaporate and, consequently, the cooling effect. Therefore, understanding the climate in which you plan to use a swamp cooler is crucial for determining its effectiveness and ensuring that it meets your cooling needs.
Tools and Materials Needed
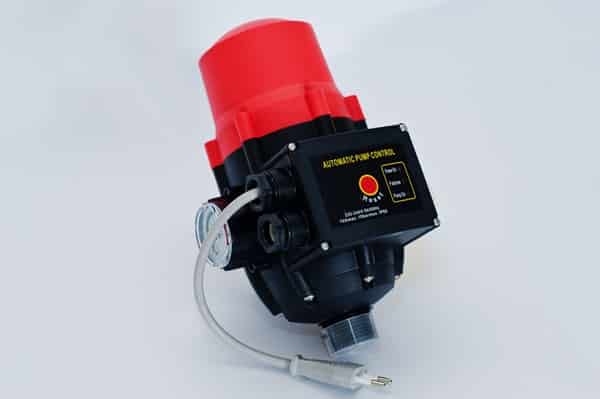
Building a swamp cooler requires a specific set of tools and materials, the selection of which will influence the efficiency and durability of the final product. Essential tools include a screwdriver, a drill, pliers, and a saw, while materials range from a durable frame (which can be made of metal or plastic) to cooling pads, a water pump, a fan, and various fittings for assembly. It’s important to choose high-quality materials and tools to ensure the cooler’s longevity and optimal performance. Additionally, selecting the proper size fan and water pump is vital for achieving the desired cooling effect, as these components are responsible for circulating air and water through the system.
When gathering your tools and materials, consider the size and capacity of the cooler you aim to build. The dimensions of your space and the amount of cooling required will determine the size of the fan and the volume of the water pump needed. High-efficiency cooling pads, such as those made from cellulose, can enhance the evaporation process, thereby improving the cooler’s overall performance. Planning ahead and ensuring you have all the necessary components before starting the project will streamline the building process and help avoid delays or complications.
Designing Your Swamp Cooler
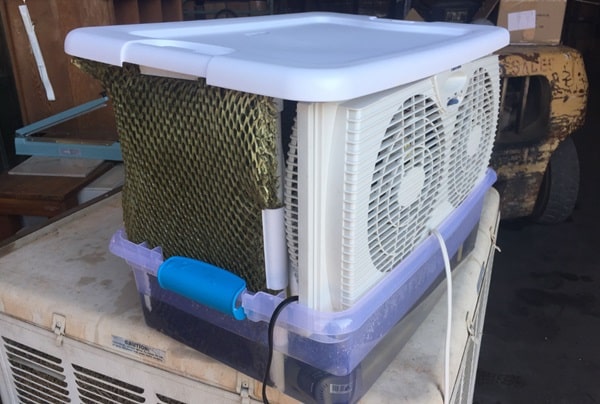
The design phase is critical in customizing your swamp cooler to fit your specific needs and space requirements. Start by determining the cooler’s size and airflow direction, considering how and where the cooler will be used. For instance, a larger room may require a cooler with a more powerful fan and a larger surface area of cooling pads to effectively lower the temperature. The design should also include a plan for the water reservoir and distribution system, ensuring that the cooling pads remain evenly moistened during operation.
Ventilation is another key aspect of the design process. Proper airflow within the space being cooled is essential for the swamp cooler to work efficiently. This involves considering the placement of vents and the cooler itself to ensure optimal air circulation and cooling coverage. The design should allow for easy access to the cooler’s components for maintenance and cleaning, which are essential for keeping the system running smoothly. By carefully planning the design of your swamp cooler, you can ensure that it will meet your cooling needs while being efficient and easy to maintain.
Constructing the Frame
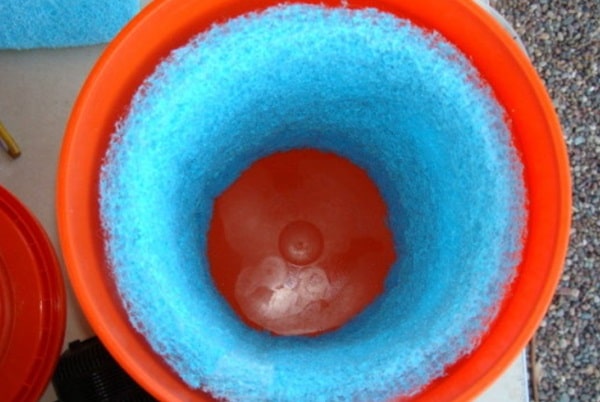
The first physical step in building your swamp cooler is constructing the frame, which will house all other components of the cooler. The choice of material for the frame—whether metal or durable plastic—will affect the unit’s durability and overall weight. Metal frames offer strength and longevity but may require additional tools for cutting and assembly. Plastic frames, on the other hand, are lightweight and easier to work with but may not provide the same level of durability over time. It’s crucial to ensure the frame is sturdy enough to support the weight of the water and the operational components.
When assembling the frame, precision is vital. Measurements should be accurate to ensure that all parts fit together correctly and securely. This step often involves drilling holes for screws or bolts, cutting materials to size, and possibly welding or using adhesives for metal frames. The frame should be designed to allow easy access to the interior for maintenance, as well as to accommodate the fan, cooling pads, and water system. Ensuring the frame is well-constructed will provide a solid foundation for the remaining steps of building your swamp cooler.
Installing the Cooling Pad and Water System
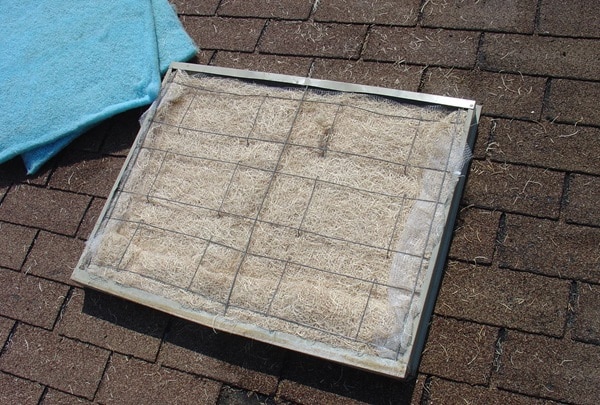
The cooling pad and water system are integral to the swamp cooler’s operation, facilitating the evaporation process that cools the air. When installing the cooling pad, it’s important to select a material that offers high water absorption and evaporation rates, such as cellulose or a high-density fiber pad. The pad should fit snugly within the frame, covering the area through which the fan will draw the air. This ensures maximum exposure to the moist surface, enhancing the cooling effect. Additionally, the pad needs to be easily removable for cleaning and replacement, as mineral buildup from the water can reduce its efficiency over time.
Setting up the water system involves installing a pump that circulates water from the reservoir to the top of the cooling pad, ensuring it remains evenly saturated. It’s crucial to select a pump with the appropriate flow rate to maintain consistent moisture without over-saturating the pad, which could inhibit airflow and reduce the cooling efficiency. The water distribution system, typically consisting of a series of small tubes or channels, should distribute water evenly across the top of the pad. Careful planning of the water distribution layout can prevent dry spots on the pad, significantly affecting the cooler’s performance. Regular water system maintenance, including cleaning the pump filter and checking for leaks, will keep the swamp cooler running effectively.
Wiring and Safety
Electrical safety is paramount when wiring the motor and fan for your swamp cooler. Begin by ensuring all electrical components are rated for the voltage and current they will encounter in operation. Use waterproof connectors and enclosures for all wiring, especially in areas exposed to water from the cooling system, to prevent short circuits and other hazards. Grounding the electrical system is also essential to protect against electrical shocks. Following a detailed wiring diagram can help in organizing the connections between the fan, pump, and power source, ensuring they are both safe and efficient.
When installing the fan and motor, securing them firmly to the frame is essential to prevent vibration and noise during operation. The motor should be compatible with the fan size and designed for continuous use, as swamp coolers often run for extended periods. Proper insulation of wires and connections is crucial to prevent exposure to moisture, which could lead to electrical failures or hazards. Regular checks and maintenance of the electrical system, including inspections for worn insulation or loose connections, will ensure the long-term safety and efficiency of your swamp cooler.
Testing and Troubleshooting
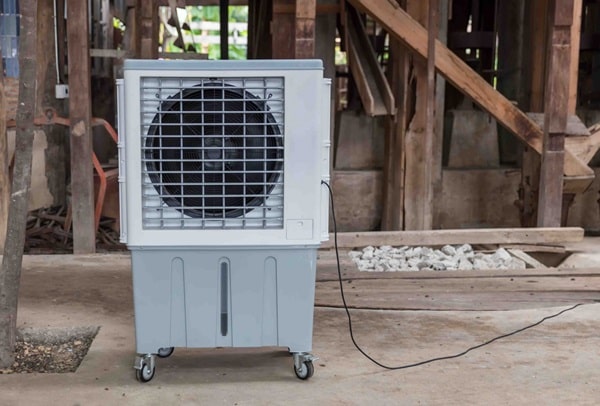
After assembling your swamp cooler, the initial testing phase is crucial to ensure everything functions as expected. Fill the water reservoir and turn on the pump and fan, observing the airflow and cooling effect. The cooler should distribute moist, cool air evenly throughout the intended area. Listen for any unusual noises from the fan or pump, which could indicate issues with installation or component malfunctions. This testing phase is also the time to adjust the water flow to the cooling pad, ensuring it is evenly saturated without water pooling or dripping excessively.
Troubleshooting common issues during the initial test can save time and frustration later. If the cooling effect is insufficient, check the airflow through the cooling pad and ensure the pad is adequately moistened. A lack of cooling could also be due to inadequate ventilation in the space or an undersized fan or pump. Electrical issues, such as the fan or pump not operating, require careful examination of the wiring and connections, always ensuring the power is off before making adjustments. By methodically addressing any issues that arise during testing, you can ensure your swamp cooler operates efficiently and effectively.
Craft Your Comfort with a Homemade Swamp Cooler
Embarking on the journey of building your own swamp cooler not only equips you with a sustainable cooling solution but also enriches your DIY repertoire. By following the steps outlined, you’re set to create a system that cools efficiently and embodies your personal touch and ingenuity. Regular upkeep ensures your cooler performs at its best, providing relief during the warm seasons. Let this project inspire you to explore more DIY ventures, proving that with the right tools and guidance, you can craft your comfort and innovation.


